|
|
We're the Diamonds in your
Tackle Bag! Hand-Made Wood Fishing Lures, Block Surf Tins, Striper fishing Lures, Wood Surf Plugs, Fishing Lure Kits and Lure Building Hardware / Complete Plug Building Supplies |
|
|
|
|
Topwater Lures
Sandeel Needles
Swimmers-5 Styles!
Dahtahs
Casting Eggs
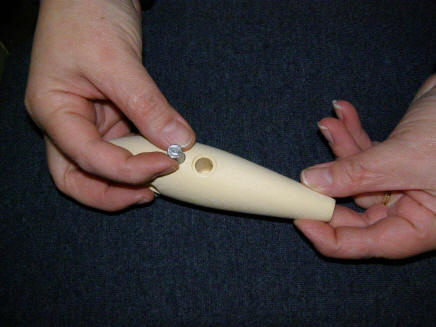
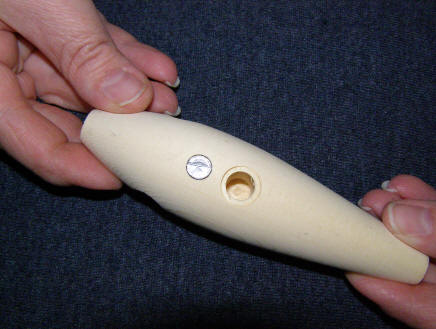
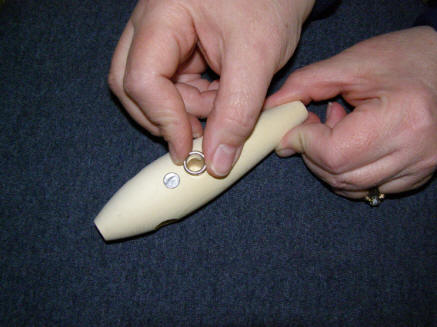
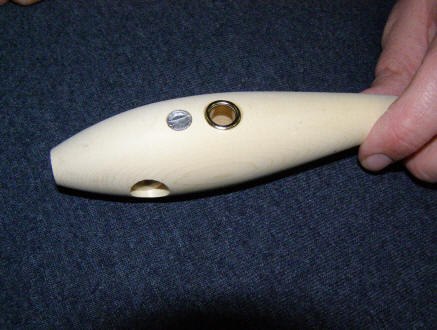
Lure Kits
Lure Kit Pictorials Plug Building Supplies Freshwater Lures Classic Tins New Prod/Lure Forum Gift Certificates Why Salty's Lures Sales Policies Contact Us VIEW CART If you see this page it is on our old site, it no longer has pricing on it or will be updated. Please use https://cart.saltwaterplugs.com |
||||
|
|
||||